
This crochet blanket pattern was so much fun to watch come together and it worked up so quickly. I’ve never done a chevron pattern before so it was fun to try something new. And once I got down the repeat pattern it moved along so quickly. I love the variation of the pink colors mixed with the white.
Crochet Blanket Pattern Inspiration
My inspiration for this crochet blanket pattern came from my daughter. She LOVES the color pink and so I thought it would be fun to whip this up for her to enjoy. As with the rainbow blanket, she has claimed her stake in keeping it (and she has reminded me several times of this fact). She wanted to start using it right away…and was bummed when I told her I need to take pictures first. She even helped me pick out the pinks as there were a handful of different shades to pick from for both the light and dark pink.

And what’s awesome is you could do something very similar with blues, greens, yellows…the options are endless. To me it looks like it almost melts from one color to the next.
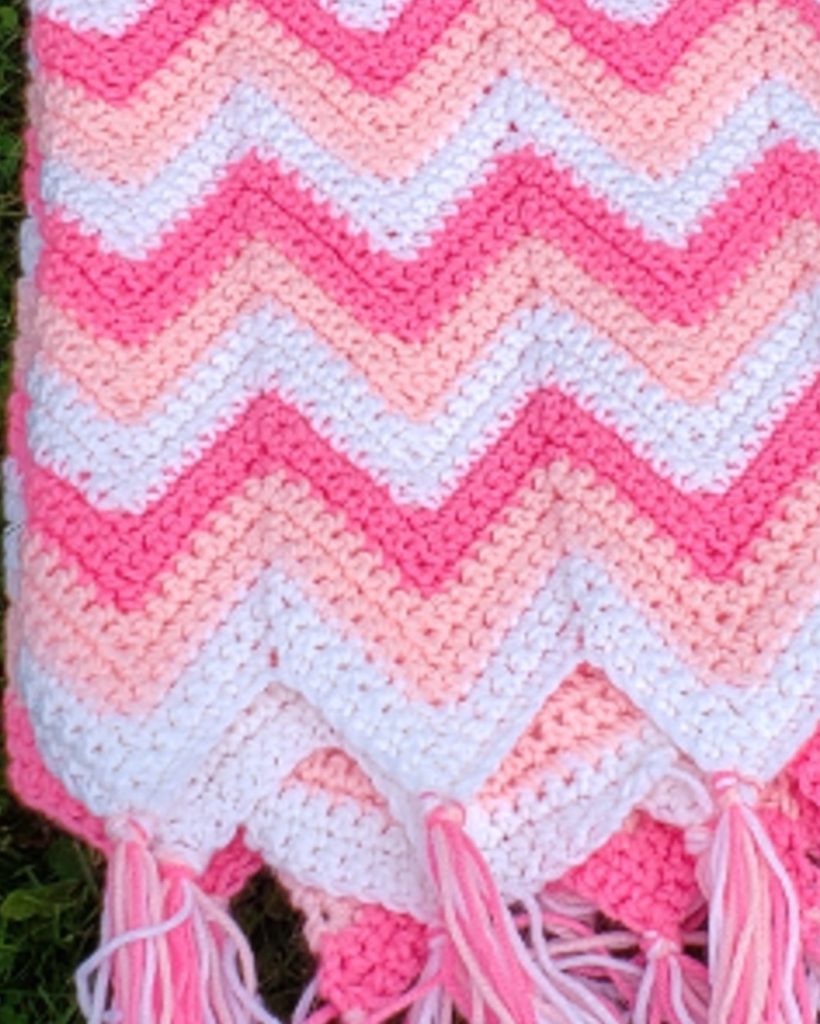
The other unique thing I noticed with the chevron stitch is the vertical pattern that appears. It looks like waves or stripes in the blanket that are running up and down. It’s super cool and if you stare at it long enough it can start to mess with your eyes! It’s quite mesmerizing. 😀

Learnings
At the end I couldn’t decide on tassels or fringe. Originally I was planning on doing tassels. After doing research, it sounds like fringe holds up better in the laundry . And I’m all about easy when it comes to laundry, especially with young kiddos at home. Another thing with fringe is you can just throw it in the washing machine. Whereas with tassels, it was recommended to take the tassels off if you put the blanket in the washing machine.
The other big learning I had with this blanket was picture taking. Recently, I purchased a special light to do inside photos. Therefore, I’m still learning how to use the different settings. In playing around with the light, the blanket started to take on an orange tone especially with the warmer settings. As a result, I ended up having to retake my pictures. Lucky for me it is springtime in Wisconsin. So, I was able to enjoy the outside and take pictures at the same time. And the outside light definitely helped avoid any orange tint to my photos!

Now let’s get onto the pattern. I hope you enjoy it as much as I do!!!
You can see a free copy of the pattern below or if you’d like a PDF printable version of the pattern you can get it from my Etsy shop here.
Pattern Instructions
CROCHET / SKILL LEVEL
Easy
MATERIALS
Size: US J/10 (6 mm) crochet hook
Red Heart® “ Super Saver®” 7 oz / 198g; 364 yds/333m
Color A: 2 balls 311 White
Color B: 2 balls 724 Baby Pink
Color C: 2 balls 722 Pretty N’ Pink
5” long piece of cardboard to make fringe
Notions: Yarn Needle
Scissors
ABBREVIATIONS
Approx = Approximate(ly)
Beg = Beginning
Ch = Chain(s)
Con = Continu(ity)
Pat = Pattern
Rem = Remaining
Rep = Repeat
RS = Right Side
Sc = Single Crochet
Sl st – Slip Stitch
St(s) = Stitches
Yoh = Yarn over hook
MEASUREMENTS
Approx 33” x 55” (83.8cm x 139.7 cm)
GAUGE
Top to bottom of peak = 3” (7.62 cm)
9 rows = 4” (10 cm)
PATTERN INSTRUCTIONS
Notes:
To join colors, work to last loops on hook of last st. Yoh with new color, draw through rem loops and proceed.
Stripe Pattern (Pat).
With A, work 3 rows
With B, work 3 rows
With C, work 3 rows
These 9 rows form a stripe pattern.
FOUNDATION ROW: With color A, Ch 130.
ROW 1: (RS) 2sc in 2nd ch from hook, *1sc in each of the next 7ch, skip 1ch, 1sc in next 7ch, 3sc in next ch; rep from * to last ch ending last rep with 2sc in last ch, turn. (137)
ROW 2: Ch1, 2sc in the first sc, * 1sc in each of the next 7 sc, skip 2sc, 1sc in each of the next 7sc, 3sc in next sc; rep from * to last sc working 2sc in last sc, turn. (137)
Keeping continuity (cont) of Stripe Pat, rep row 2 until work from beginning (beg) measures approximately (approx) 55″ [139.7 cm] ending with 3 rows of color C. Fasten off.
FINISHING
Block blanket if there’s any curling.
FRINGE
Cut 2 strands of each color of yarn; each strand is 10” [25.4 cm] long. Hold 2 strands of each yarn color together and fold in half. With right side facing up, use crochet hook to draw fold through edge of piece at Row 1, forming a loop. Pull ends of fringe through this loop. Pull to tighten. Make fringe evenly spaced along each side edge using 3 strands of yarn for each fringe. Trim fringe evenly.

Permissions + Copyright:
Please do not publish or share this pattern as your own. You may make items to sell with this pattern. In exchange, please link back this post. Do NOT use my photos as your own sales photos.
I would love to get your feedback since I’m new pattern designing! Reach out with any questions or comments.
Have an amazing day!
Heather
If you like this crochet pattern and want to stay connected, sign up for my newsletter!